
Step-by-Step Guide to Shunt Resistor Manufacturing
- laifutechco
- Jan 13, 2025
- 3 min read
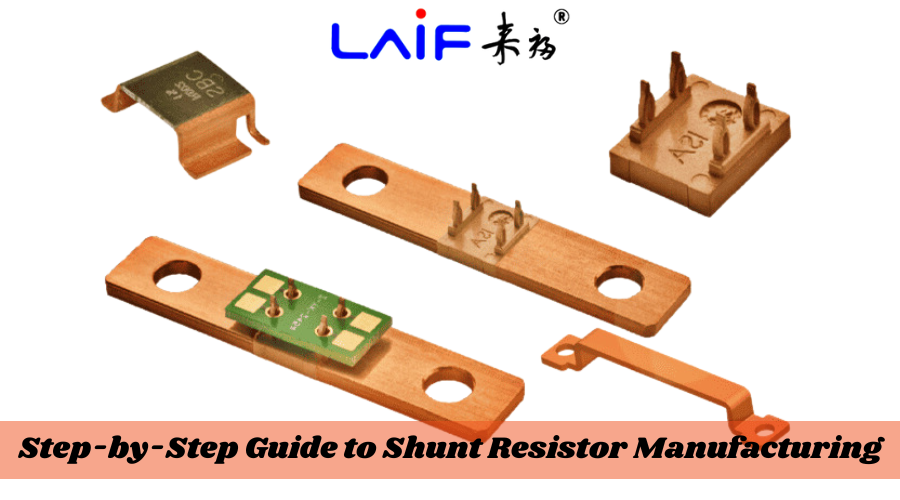
Shunt resistors play a critical role in electrical engineering and electronics by measuring current flow in circuits with precision. These components are widely used in applications ranging from automotive systems to industrial equipment and consumer electronics. In this article, we’ll provide a step-by-step guide to shunt resistor manufacturing, focusing on the processes, materials, and quality control measures involved. By the end, you’ll have a comprehensive understanding of how these essential devices are made.
1. Understanding Shunt Resistors
Shunt resistors are low-resistance components used to measure current by generating a voltage drop proportional to the current passing through them. This voltage is then measured and analyzed. The precision of these resistors is crucial for accurate current measurements, especially in sensitive devices.
2. Selecting Raw Materials
The first step in manufacturing shunt resistors is choosing the right materials. Common materials include:
Manganin: An alloy of copper, manganese, and nickel known for its low temperature coefficient and high stability.
Constantan: A copper-nickel alloy with consistent resistance over a range of temperatures.
Copper: Often used for terminals due to its excellent conductivity.
The selected material significantly influences the resistor’s performance, accuracy, and longevity.
3. Designing the Resistor
The design phase involves determining:
Resistance value: Calculated based on the application’s current measurement requirements.
Power rating: Ensures the resistor can handle the heat generated without degrading.
Physical dimensions: Includes the thickness, length, and width, which affect resistance and heat dissipation.
Terminal configuration: Custom-designed for optimal integration into the intended circuit.
4. Precision Cutting of Material
The chosen raw material is cut into precise dimensions using laser cutters or CNC machines. Precision is essential to ensure uniform resistance and consistent performance across production batches. The dimensions directly influence the resistance value, so this step requires meticulous accuracy.
5. Surface Treatment
After cutting, the material undergoes surface treatment to remove any imperfections, oxidation, or contaminants. Processes include:
Polishing: Achieves a smooth surface for better electrical contact.
Electroplating: Adds a protective layer to improve durability and reduce corrosion.
6. Heat Treatment
Heat treatment enhances the stability of the material. This step involves heating the resistive alloy to specific temperatures, then cooling it at a controlled rate. The process:
Reduces residual stress: Improves long-term stability.
Enhances uniformity: Ensures consistent resistance across the entire component.
7. Assembly of Terminals
The next step is attaching terminals to the resistive material. Terminals are typically made from high-conductivity materials like copper or brass. Spot welding or soldering is used to secure the terminals, ensuring a low-resistance connection.
8. Calibration and Testing
Calibration is a critical step to ensure the resistor meets its specified resistance value. This involves:
Precision measurement: Using high-accuracy instruments to measure resistance.
Adjustment: Trimming or modifying the resistor to achieve the desired resistance.
Each resistor is tested under simulated operating conditions to verify:
Temperature coefficient: Stability across different temperatures.
Load capacity: Ability to handle high currents without failure.
Long-term reliability: Performance over extended periods.
9. Encapsulation and Protective Coating
To protect the resistor from environmental factors like moisture and mechanical stress, it is encapsulated or coated. Common methods include:
Epoxy resin coating: Provides insulation and durability.
Ceramic encasement: Offers excellent thermal protection.
The type of encapsulation depends on the application and operating environment.
10. Quality Control and Inspection
Quality control is integral to ensuring that the final product meets industry standards. Key steps include:
Visual inspection: Checks for physical defects like cracks or uneven surfaces.
Electrical testing: Verifies resistance, voltage drop, and current-handling capabilities.
Environmental testing: Exposes resistors to extreme conditions to test durability.
Shunt Resistor Makers often adhere to international standards, such as ISO or MIL specifications, for quality assurance.
11. Packaging and Shipping
After passing all quality checks, shunt resistors are packaged for shipment. Packaging is designed to:
Protect the components during transit.
Provide clear labeling, including resistance value, tolerance, and power rating.
Facilitate easy handling and storage.
12. Applications of Shunt Resistors
Shunt resistors are used across various industries, including:
Automotive: For battery management and motor control.
Industrial equipment: For monitoring current in heavy machinery.
Renewable energy systems: For tracking current in solar panels and wind turbines.
Consumer electronics: In power supplies and chargers.
Their versatility and precision make them indispensable in modern technology.
Conclusion
Manufacturing shunt resistors is a meticulous process requiring precision at every step, from material selection to final quality control. By following this guide, manufacturers can produce high-quality resistors that meet the demands of various industries. The key to success lies in attention to detail, robust quality assurance practices, and continuous innovation. Whether you’re an engineer, manufacturer, or enthusiast, understanding the steps involved in shunt resistor production provides valuable insights into the creation of these essential components.


Comments